The printer is finally printing perfectly.
I’m opening with that because, after the last couple of posts, you could reasonably assume I’d bought a very expensive machine for generating troubleshooting opportunities.
In the previous instalment, I managed to break filament loading by replacing the PTFE tubing with pieces I hadn’t cut properly. Recutting the ends sorted it.
The AMS could feed again. Filament reached the nozzle. Everything was looking promising.
Then the prints started lifting off the bed.
Because apparently getting the plastic to the correct place was only the first part of the negotiation.
Surely It’s the Tubing Again#
Having recently caused a problem with the filament path, I was understandably suspicious of the filament path.
Perhaps there was still too much resistance. Perhaps one of the bends was wrong. Perhaps another section of tubing needed replacing.
So I spent another three hours troubleshooting, replacing more tubing and redoing the routes.
This is the problem with having just fixed something: it becomes the explanation for everything that goes wrong afterwards.
Bad print? Tubing.
Lifting corner? Tubing.
At this point, if the kitchen tap had started dripping, I’d probably have checked the AMS.
But there was a clue I wasn’t giving enough attention to. The organiser prints were starting reasonably well. The trouble came later, when parts began lifting away from the plate.
The printer was putting filament down. Keeping it there was becoming the problem.
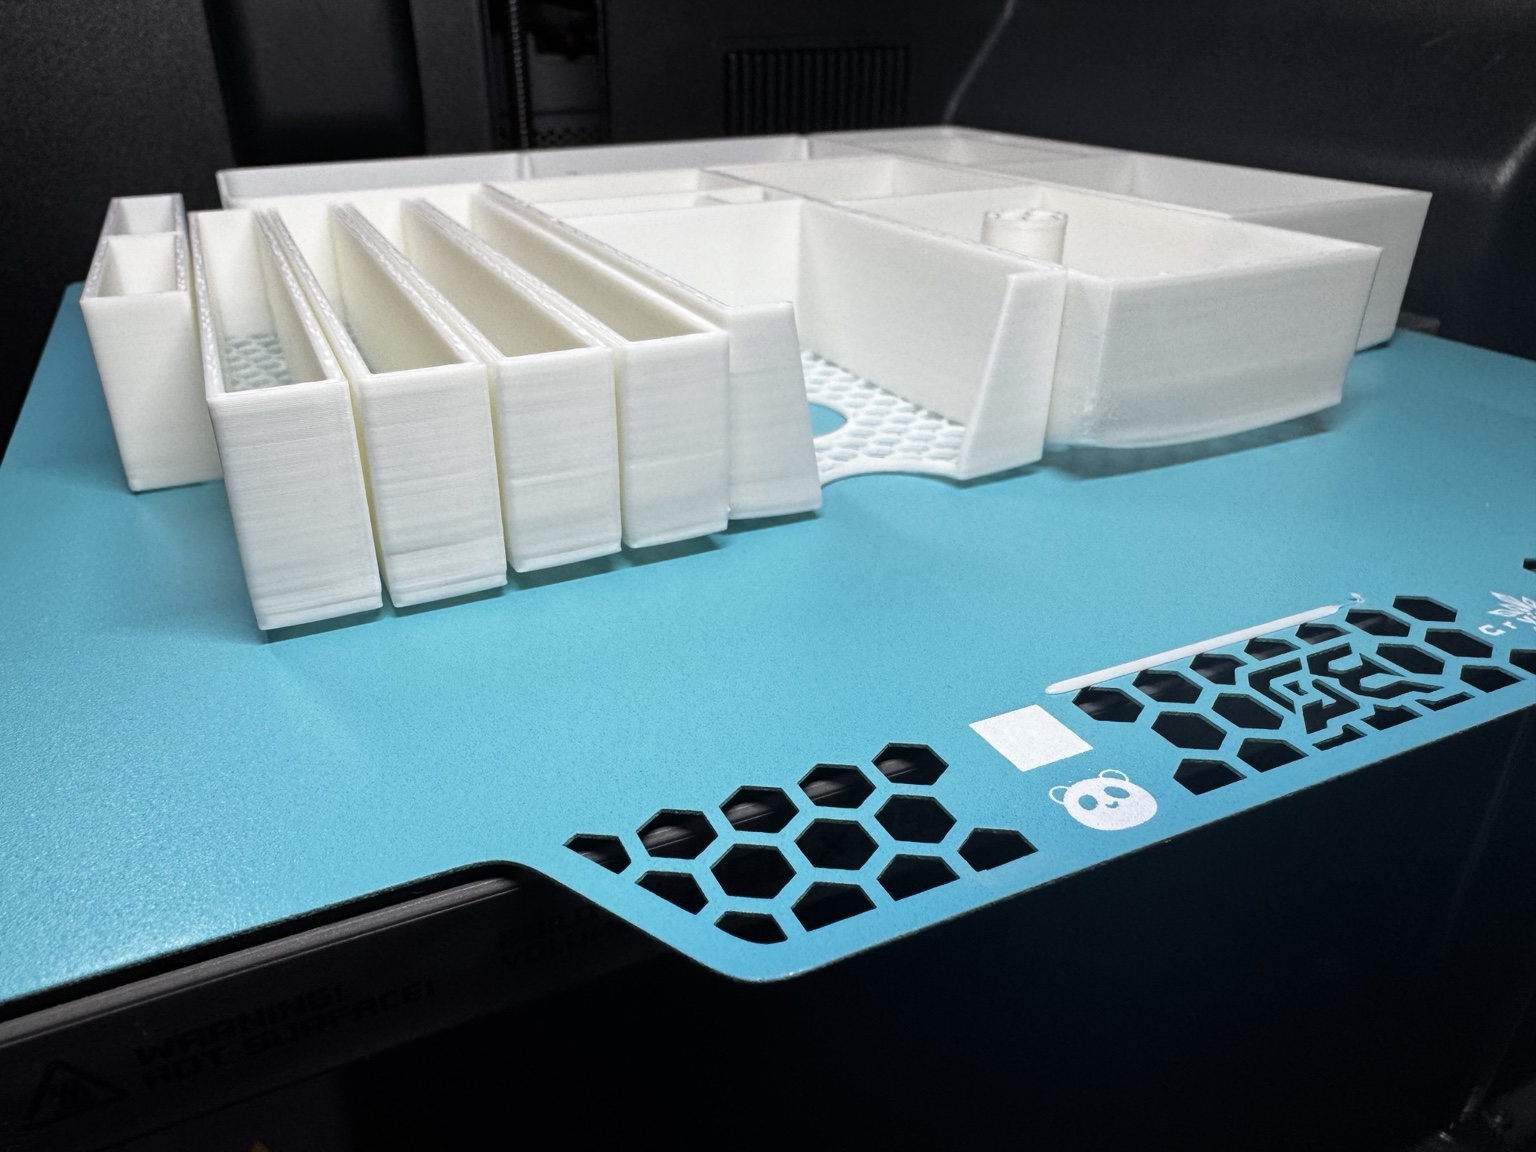
The organiser prints were pulling away from the plate as the print progressed.
October Had Entered the Chat#
I was using the blue BIQU CryoGrip Pro Glacier build plate, running at a lower bed temperature than my textured PEI setup, with the printer lid open.
Meanwhile, the room had got colder.
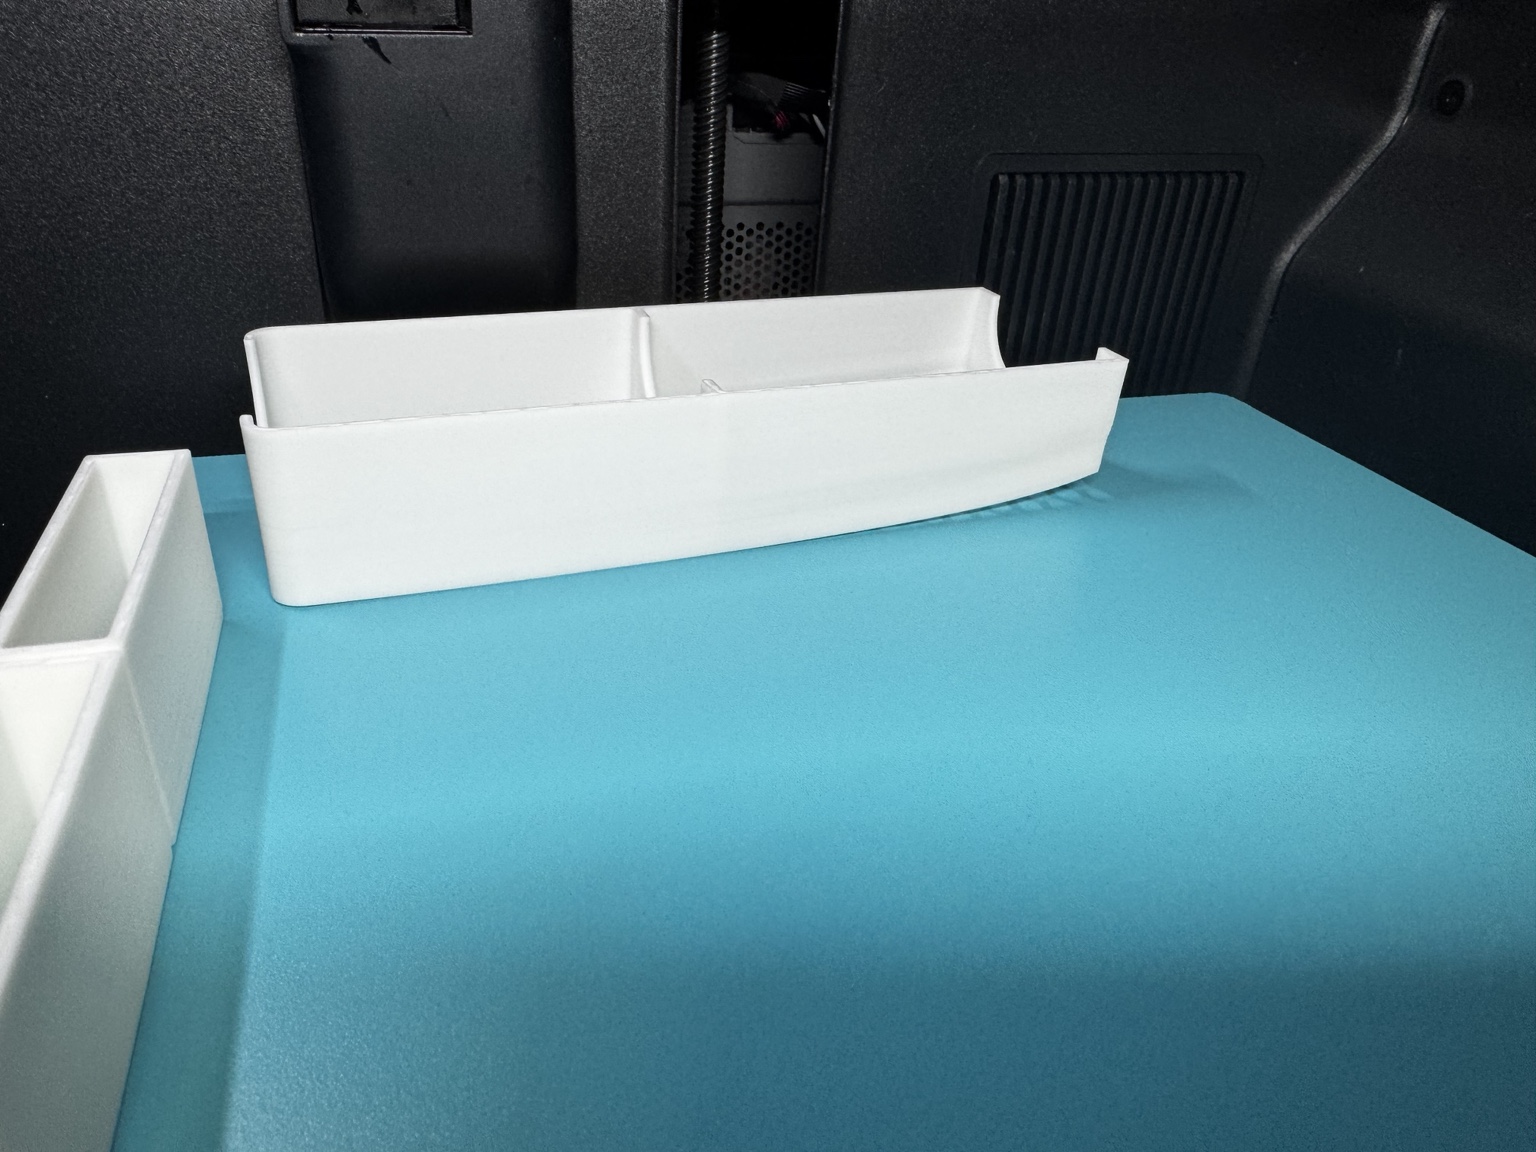
The gap beneath the end of the organiser made the lifting particularly obvious.
I’d spent hours looking for another mechanical fault without properly considering that the conditions around the printer had changed.
My response was to close the lid and switch to the textured PEI plate, which I was running at a higher bed temperature.
Things improved.
Effectively, I’d put the printer into winter mode.
Now, I changed two things together, so I can’t honestly tell you how much of that improvement came from closing the lid and how much came from changing the plate and bed temperature. This was an evening of increasingly irritated troubleshooting, rather than a carefully controlled experiment.
But it gave me a much more useful direction to investigate.
After spending three hours fiddling with the filament delivery system, discovering that the colder room might be part of the problem was fairly fucking annoying.
And Then There Were the Multicolour Prints#
That wasn’t quite the end of it.
The flat multicolour prints were still giving me trouble. These had small coloured details, black outlines and lettering, followed by white areas that brought the design together.
When it went wrong, the result looked a mess. Details lifted, filament got dragged around, and an attempt that had initially looked promising became another failed print.
Which, naturally, made it very tempting to start suspecting the feeding system again.
But before another round of dismantling, the textured PEI plate got a proper wash.
Then I tried the same troublesome print again.
Wash the Bloody Plate#
The difference was obvious.
The coloured details stayed flat. The black outlines went down cleanly. Then came the white filament—the part I’d been watching particularly closely.
That went down properly too.
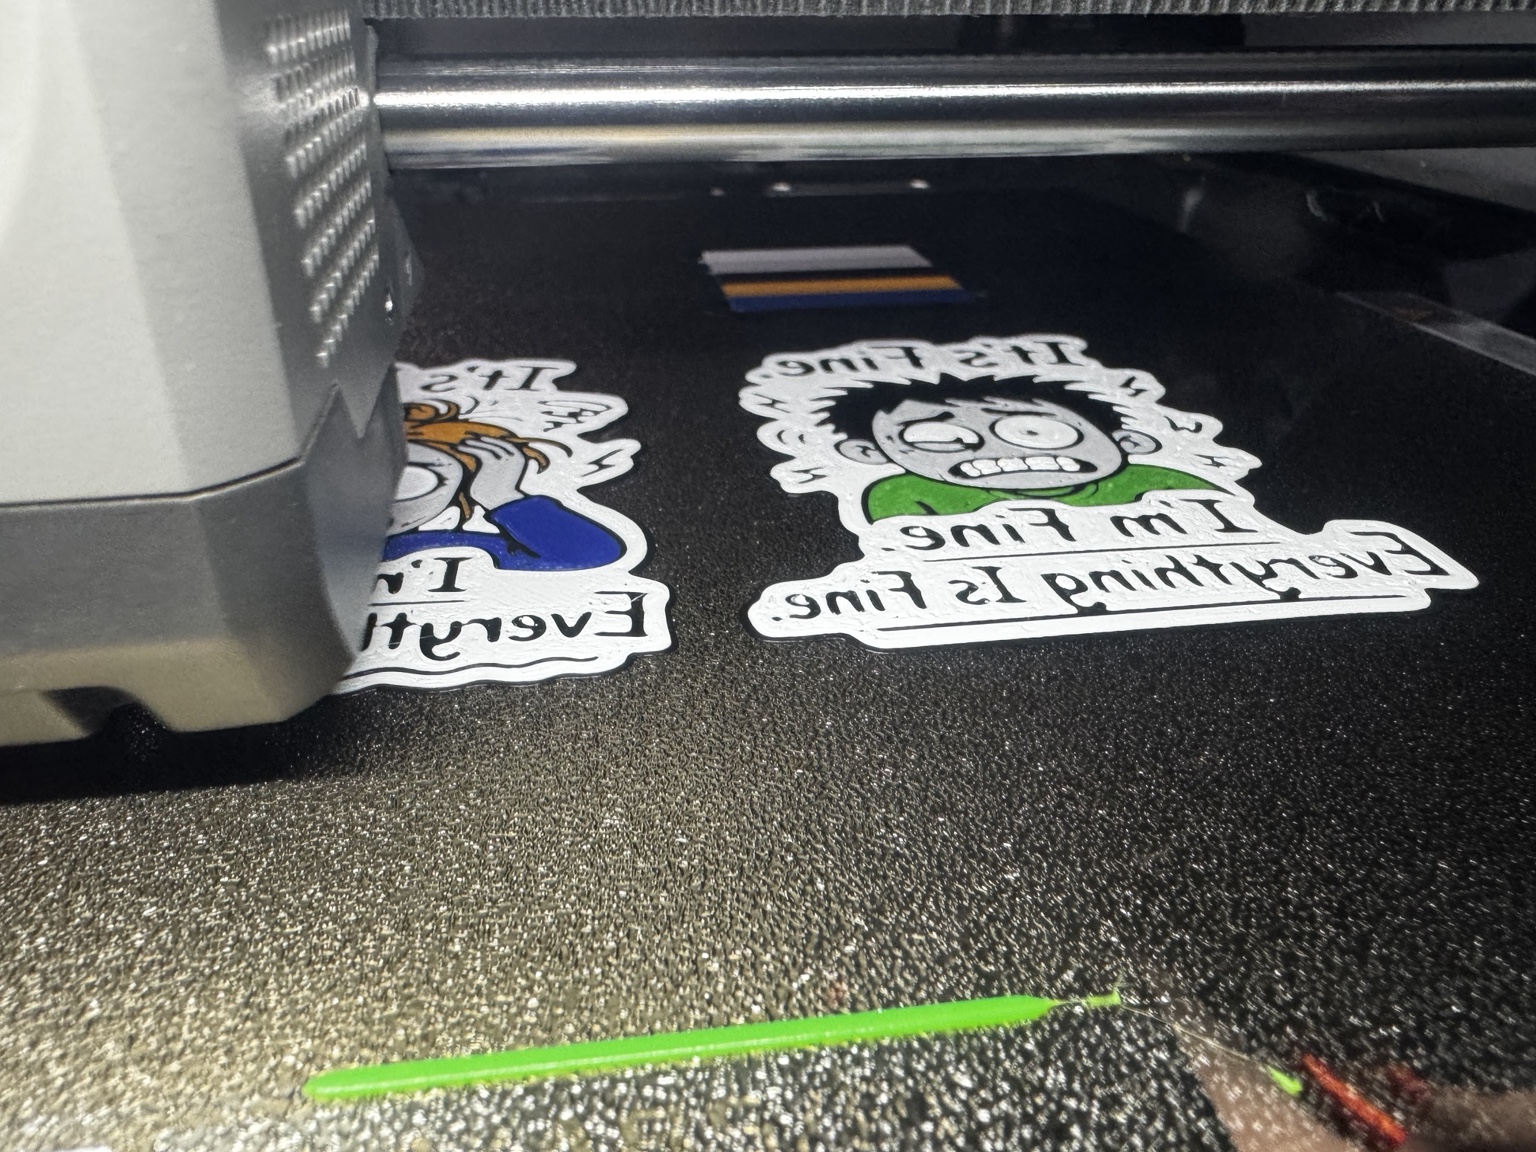
After washing the textured PEI plate: the white areas printing cleanly and the details staying attached.
Instead of watching the nozzle gradually destroy the work it had already done, I was watching a printer successfully print something.
A surprisingly novel experience by this point.
The improvement after washing the textured plate was the strongest clue yet that adhesion had been a big part of the trouble.
After all the attention I’d given the tubing, routing and possibility of another feeding problem, washing the build plate turned out to be one of the most useful things I did.
There’s something deeply irritating about a simple fix when you’ve already invested hours in complicated ones.
Obviously I was pleased.
I was also slightly offended.
What About the CryoGrip Plate?#
The blue BIQU CryoGrip Pro Glacier is still a separate question.
It hadn’t been giving me the adhesion I expected, but I haven’t established exactly why. Contamination, wear or the changed printing conditions were possibilities—not conclusions.
The successful prints on the washed textured PEI plate gave me a working setup again. They didn’t magically diagnose everything happening with the CryoGrip plate.
For now, I’m happy to have the printer behaving itself.
I don’t feel an urgent need to interrupt that by launching another investigation.
That particular approach to preventative maintenance has already had enough coverage on this blog.
What I’m Taking From This#
The biggest lesson is how easily one genuine fault can colour your view of the next one.
The PTFE problem was real. I’d made poor cuts, the filament struggled to travel through the system, and recutting the tubing fixed it.
But once that happened, I kept looking back at the same system whenever another print failed.
This time, the useful clues were elsewhere: prints lifting after a decent start, a colder room, the plate I was using, and the difference a proper wash made.
I also changed several things together, which helped get me printing again but made it harder to say exactly what contributed how much. Next time, I’d like to be a bit more disciplined about changing one thing and checking the result.
I’d also like to remember that sentence before spending another three hours replacing tubing.
We’ll see how that goes.
For now, the filament feeds, the prints stay attached, and the printer is finally producing the things I actually wanted to make.
The previous lesson was to cut the bloody tubing properly.
This one appears to be: check the conditions, and wash the bloody plate.